Home   Medway   Sport   Article

Top 10 pictures from Gillingham's 1-1 draw with Bury

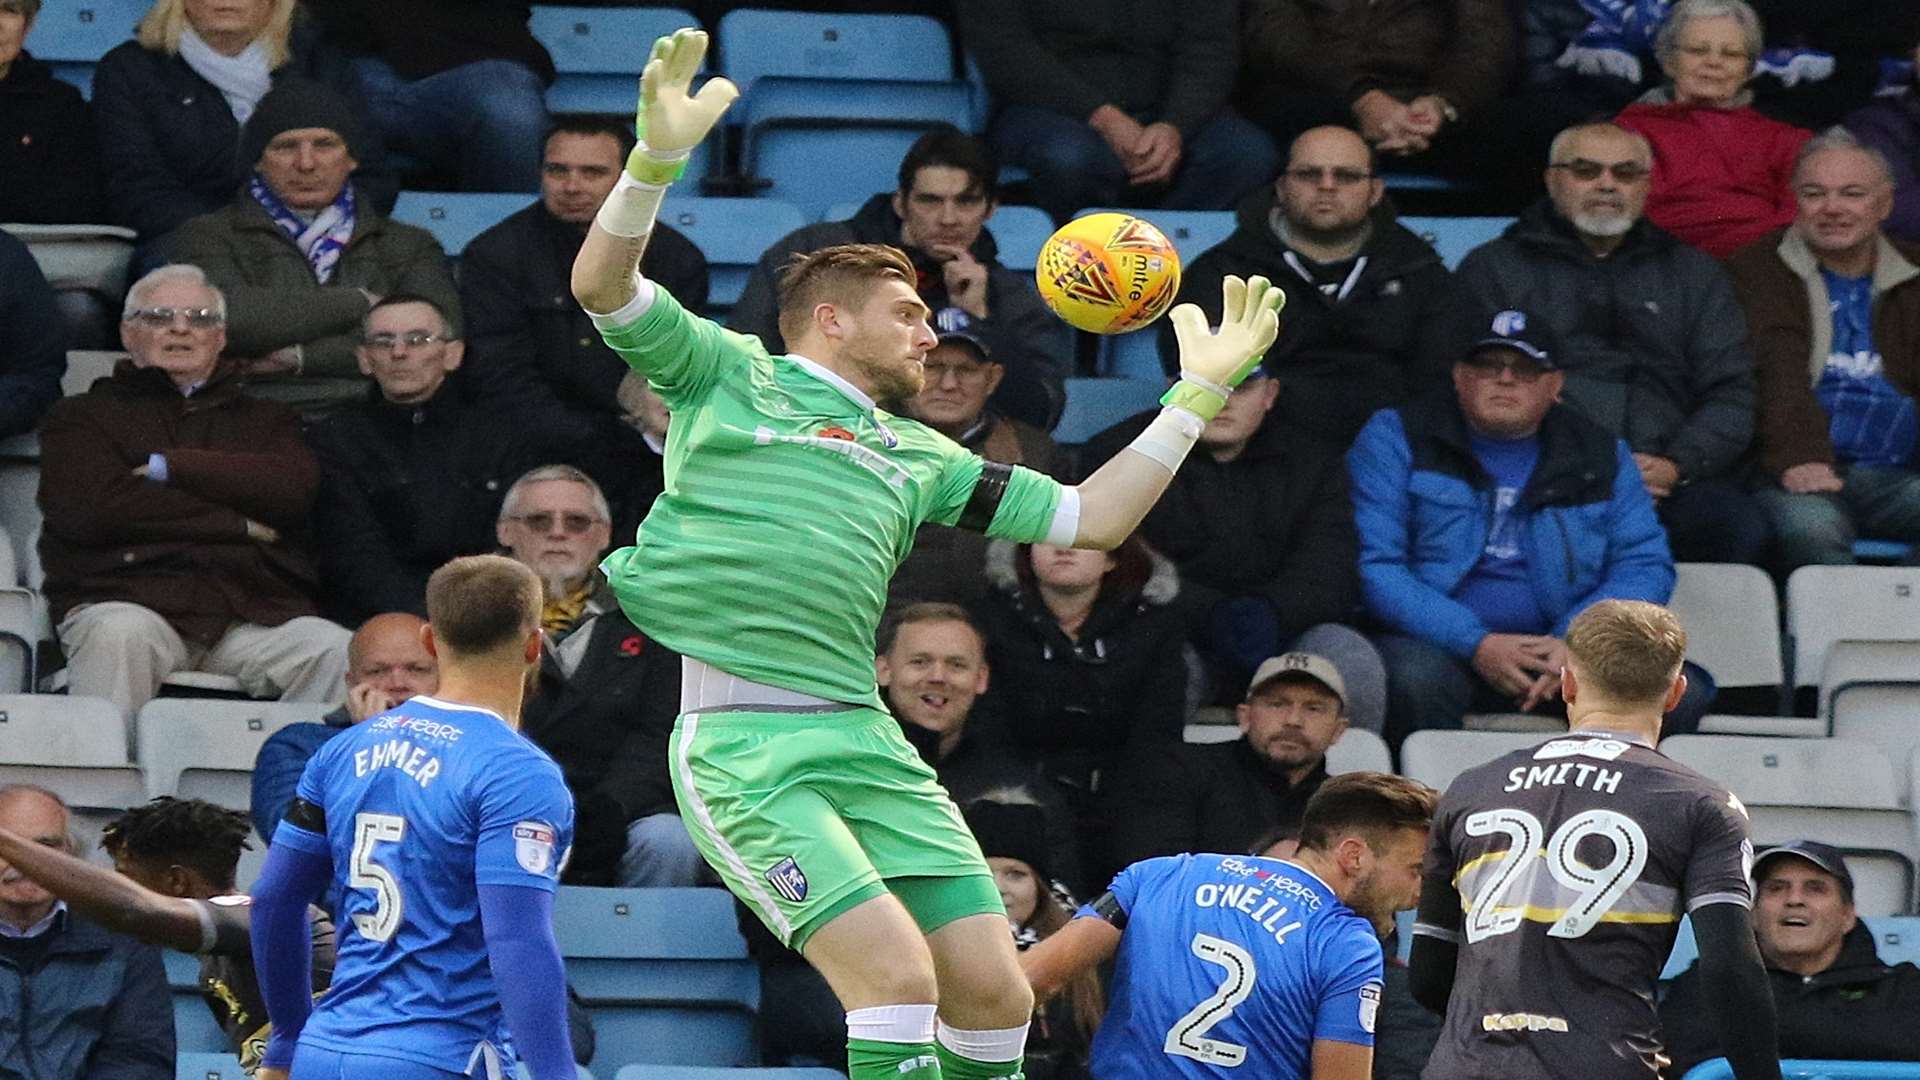
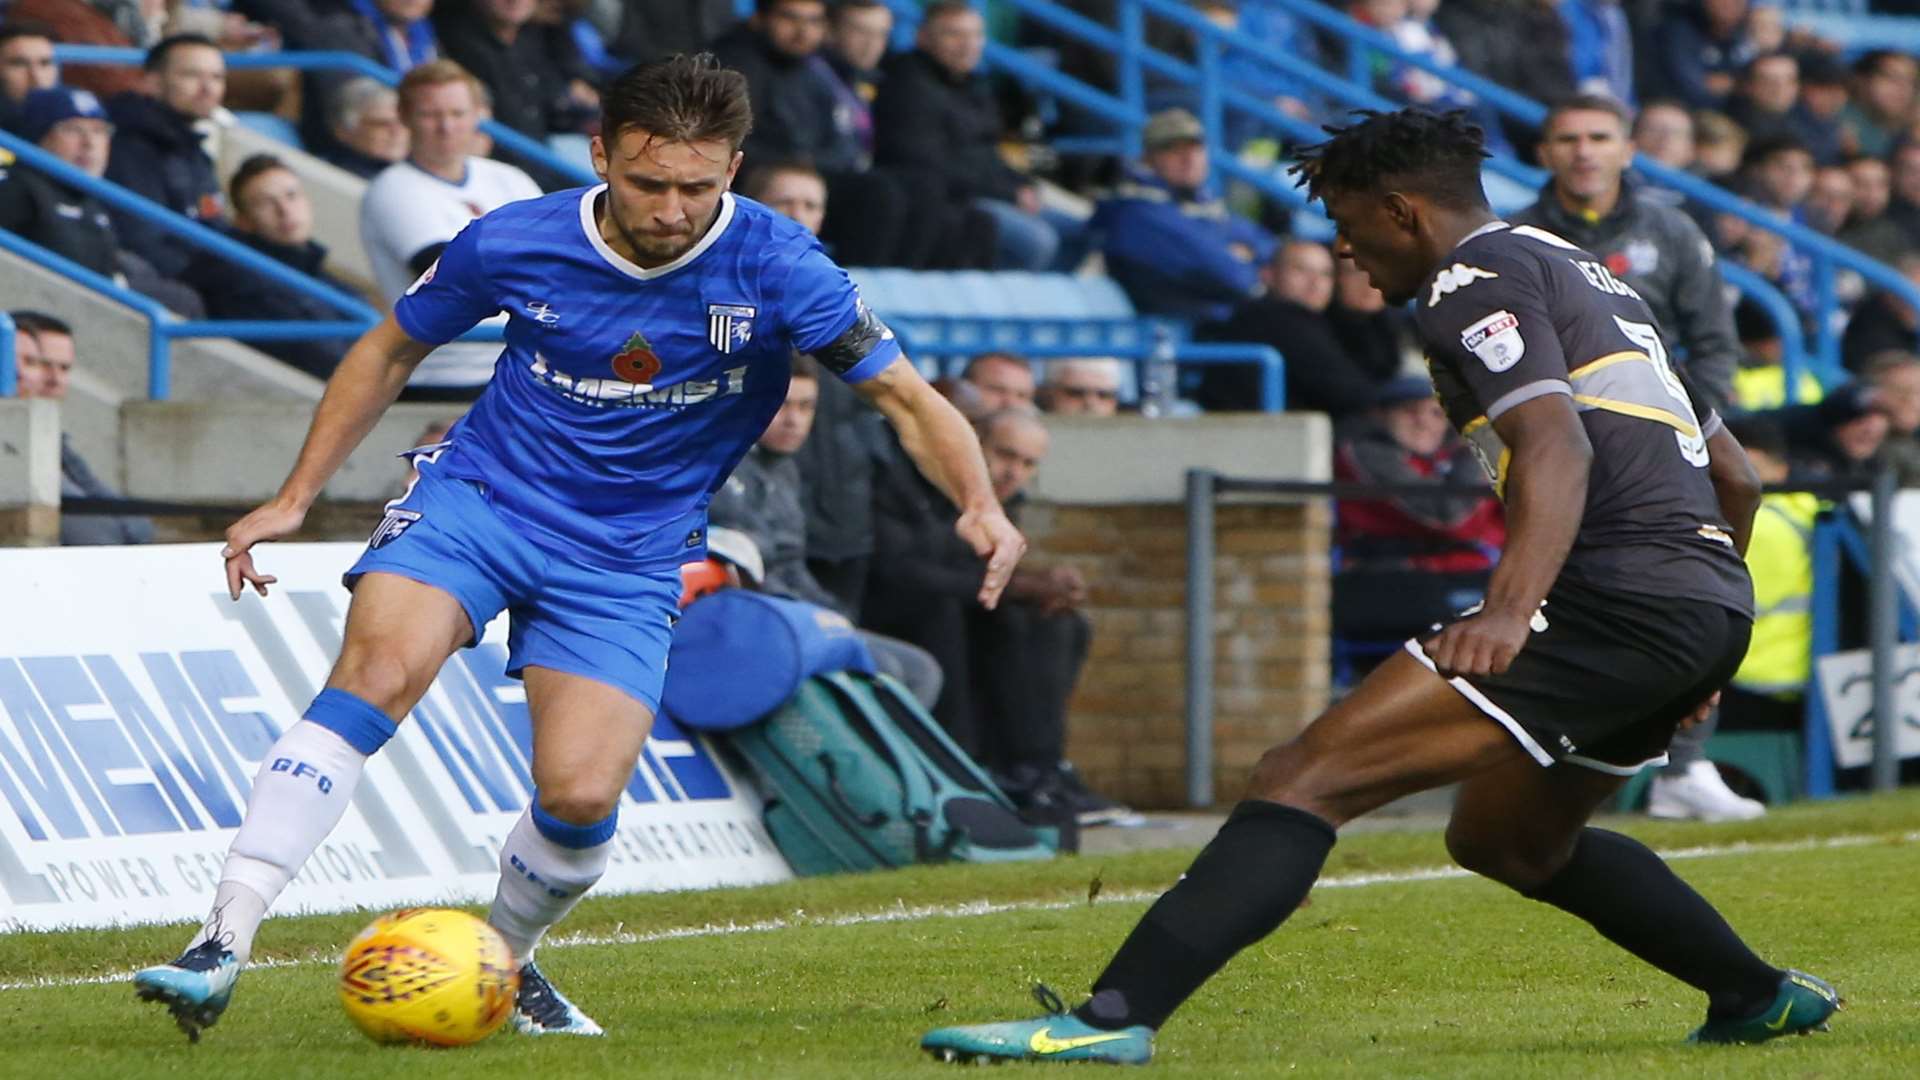
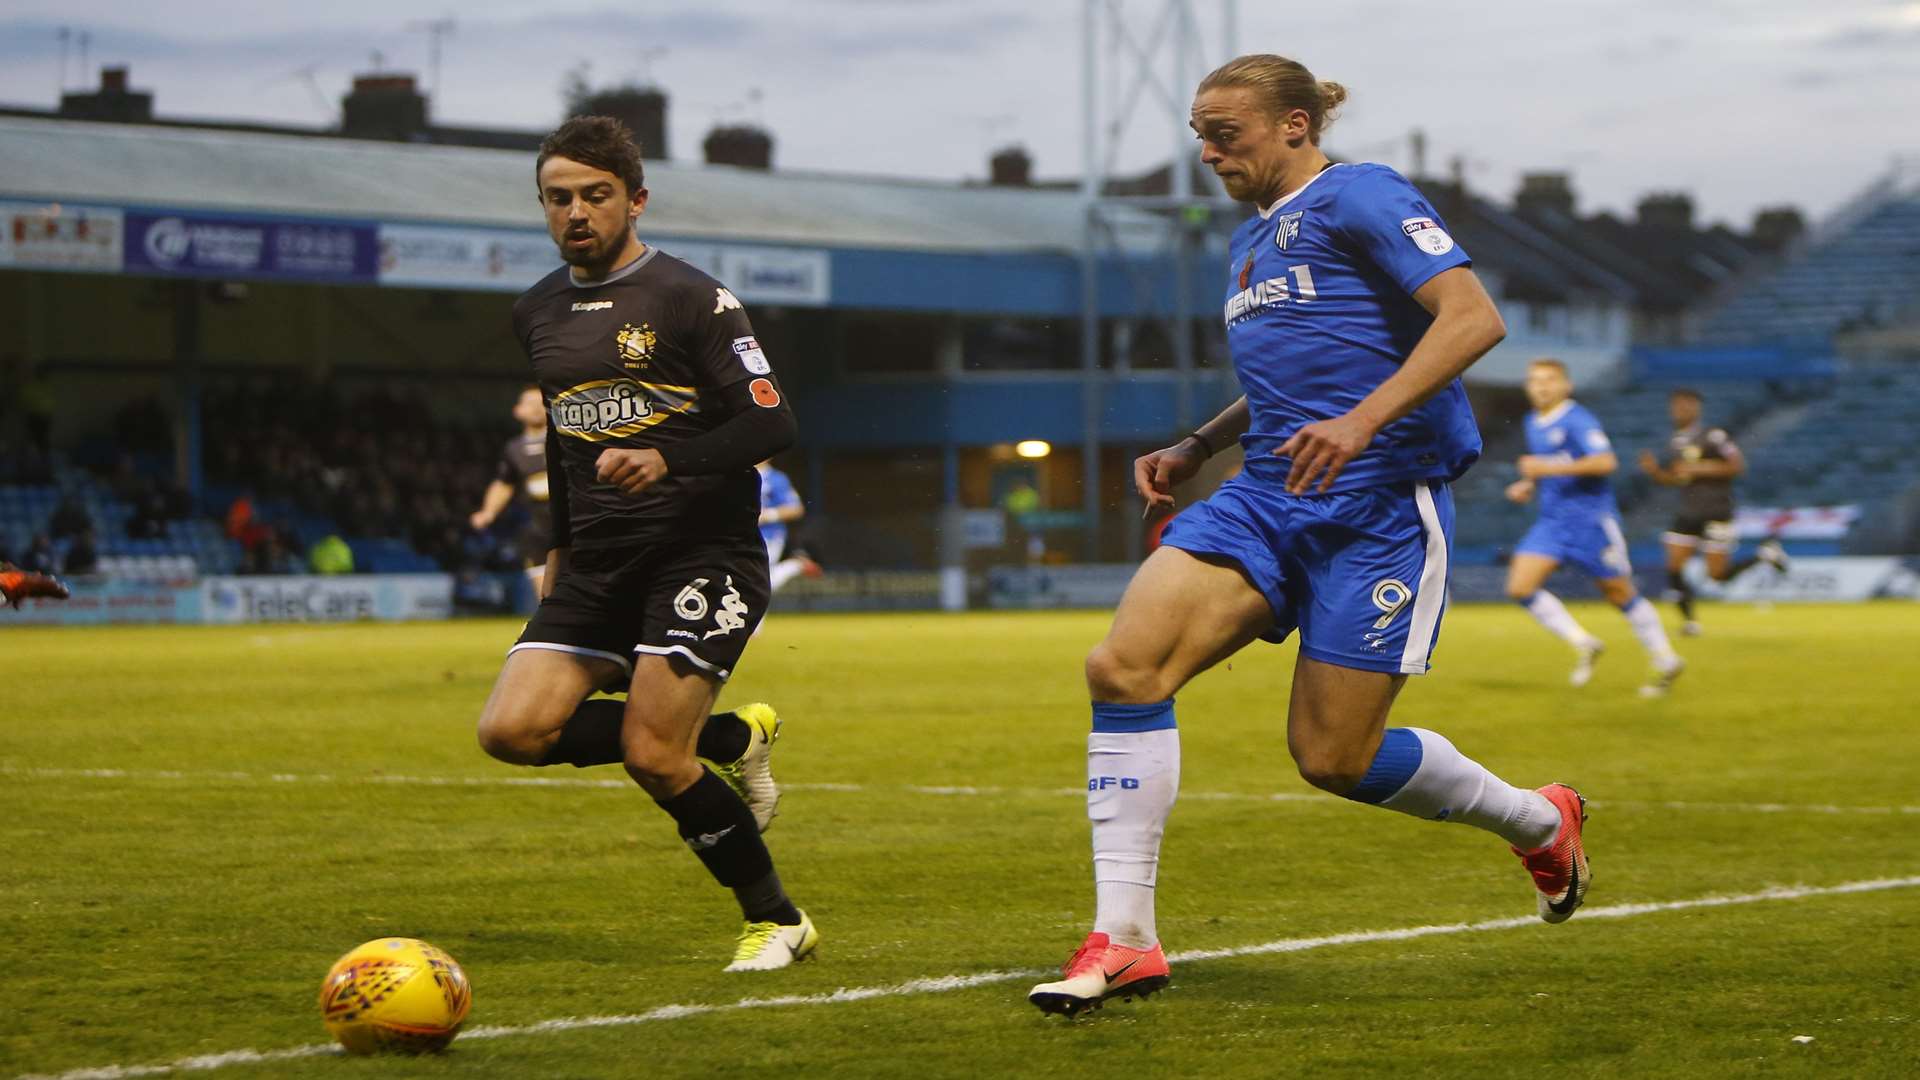
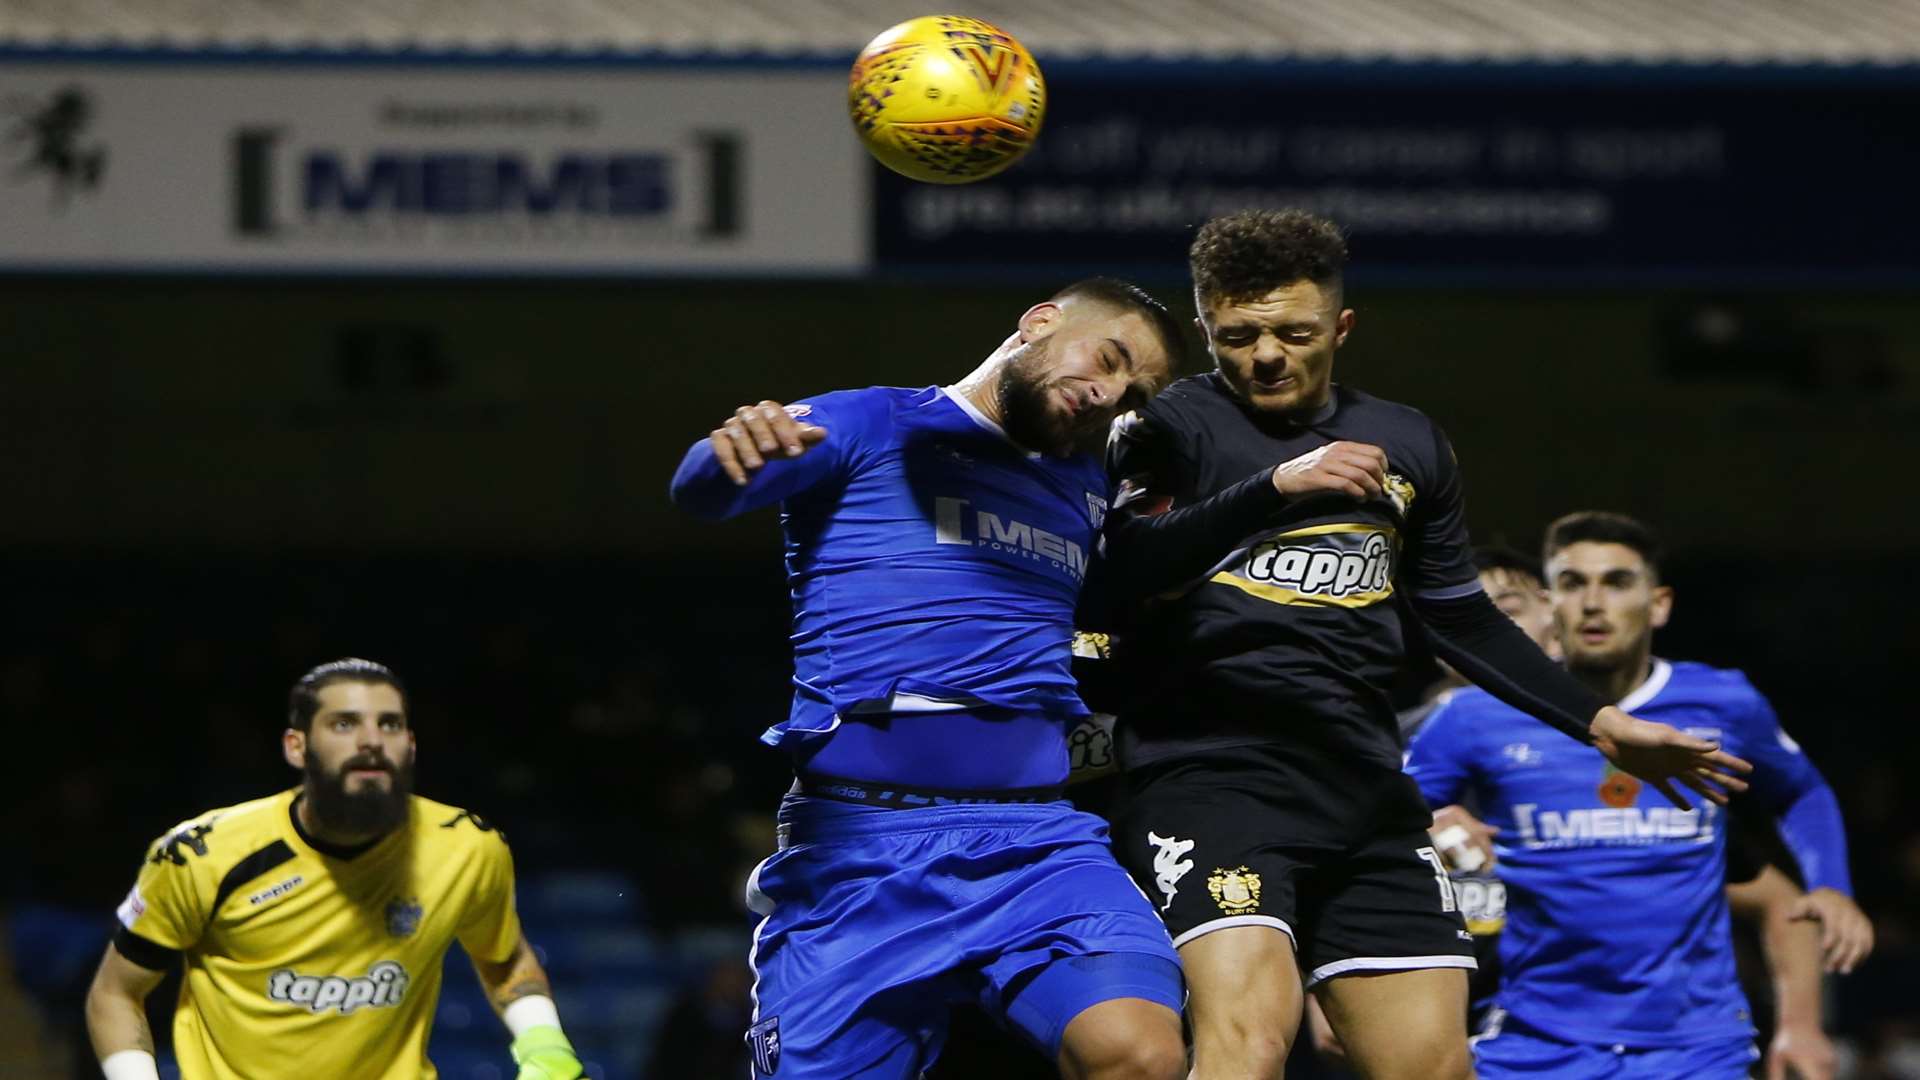
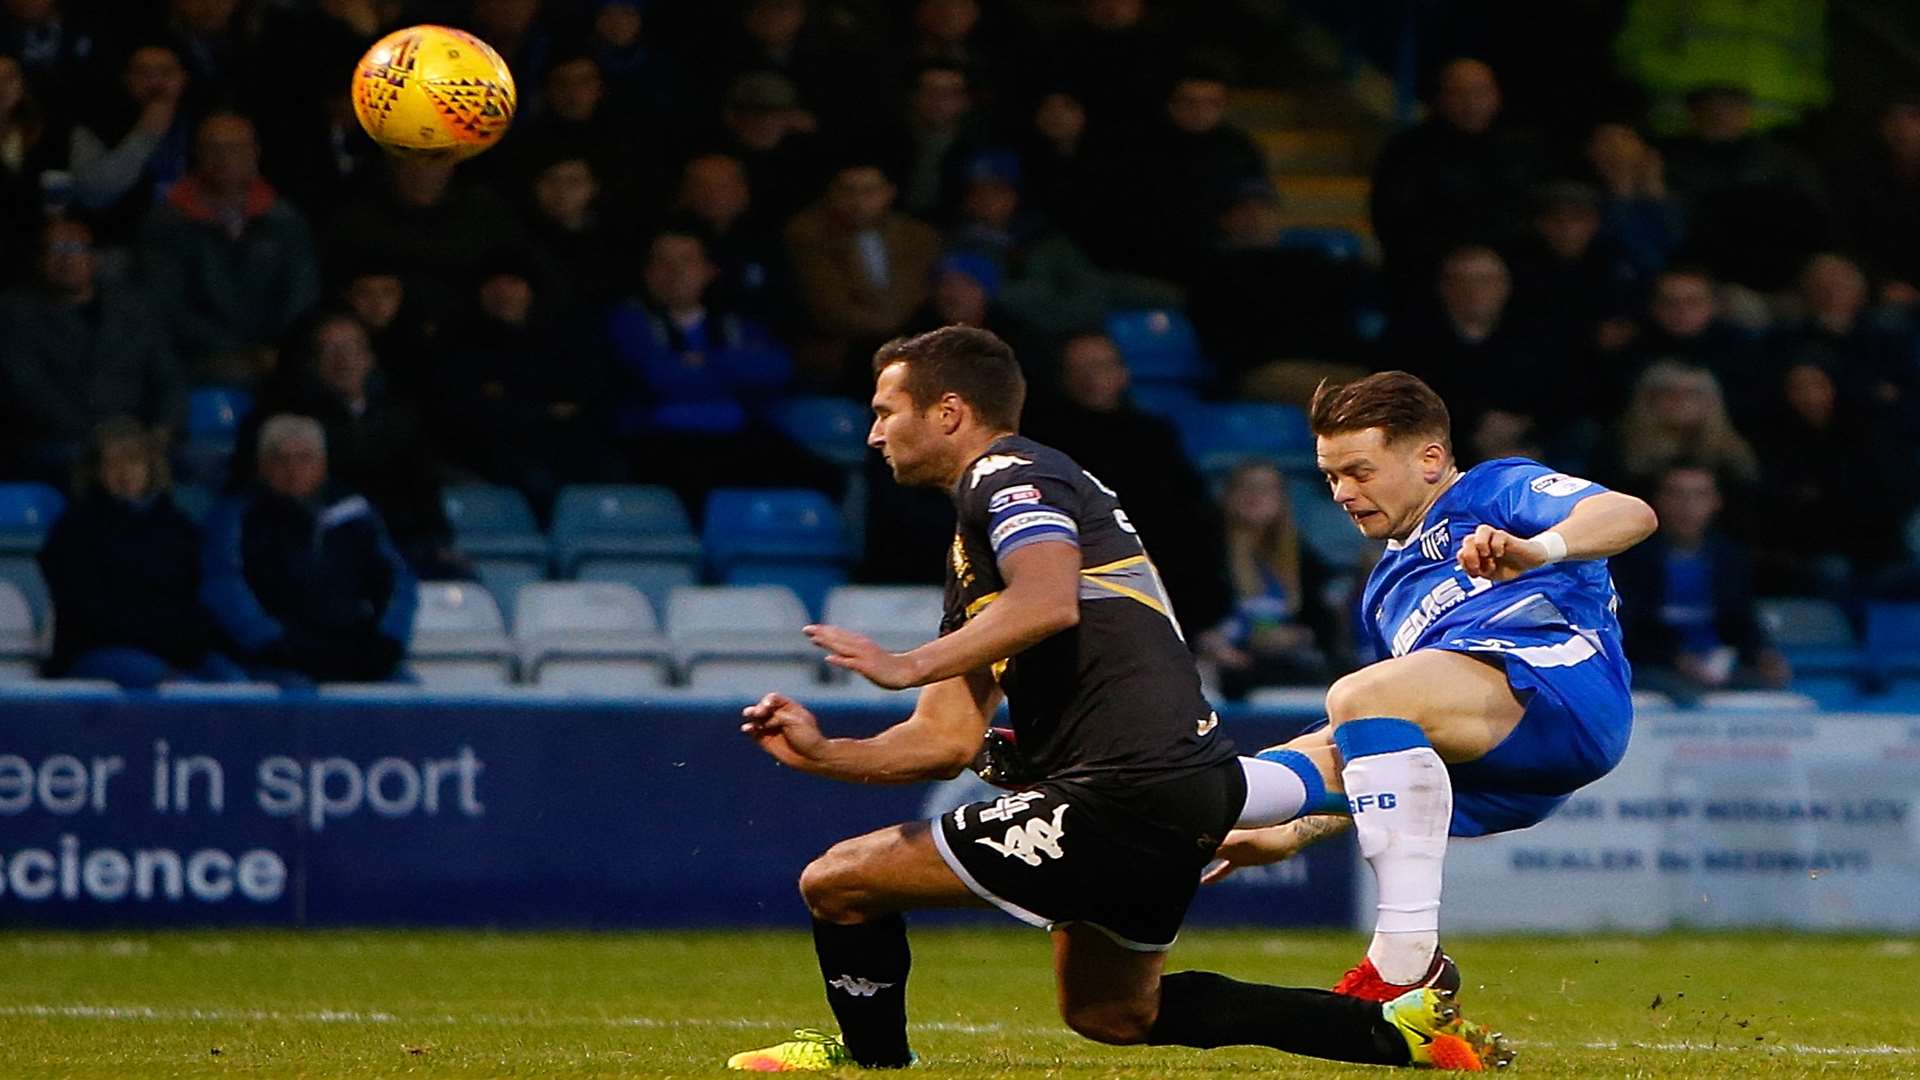
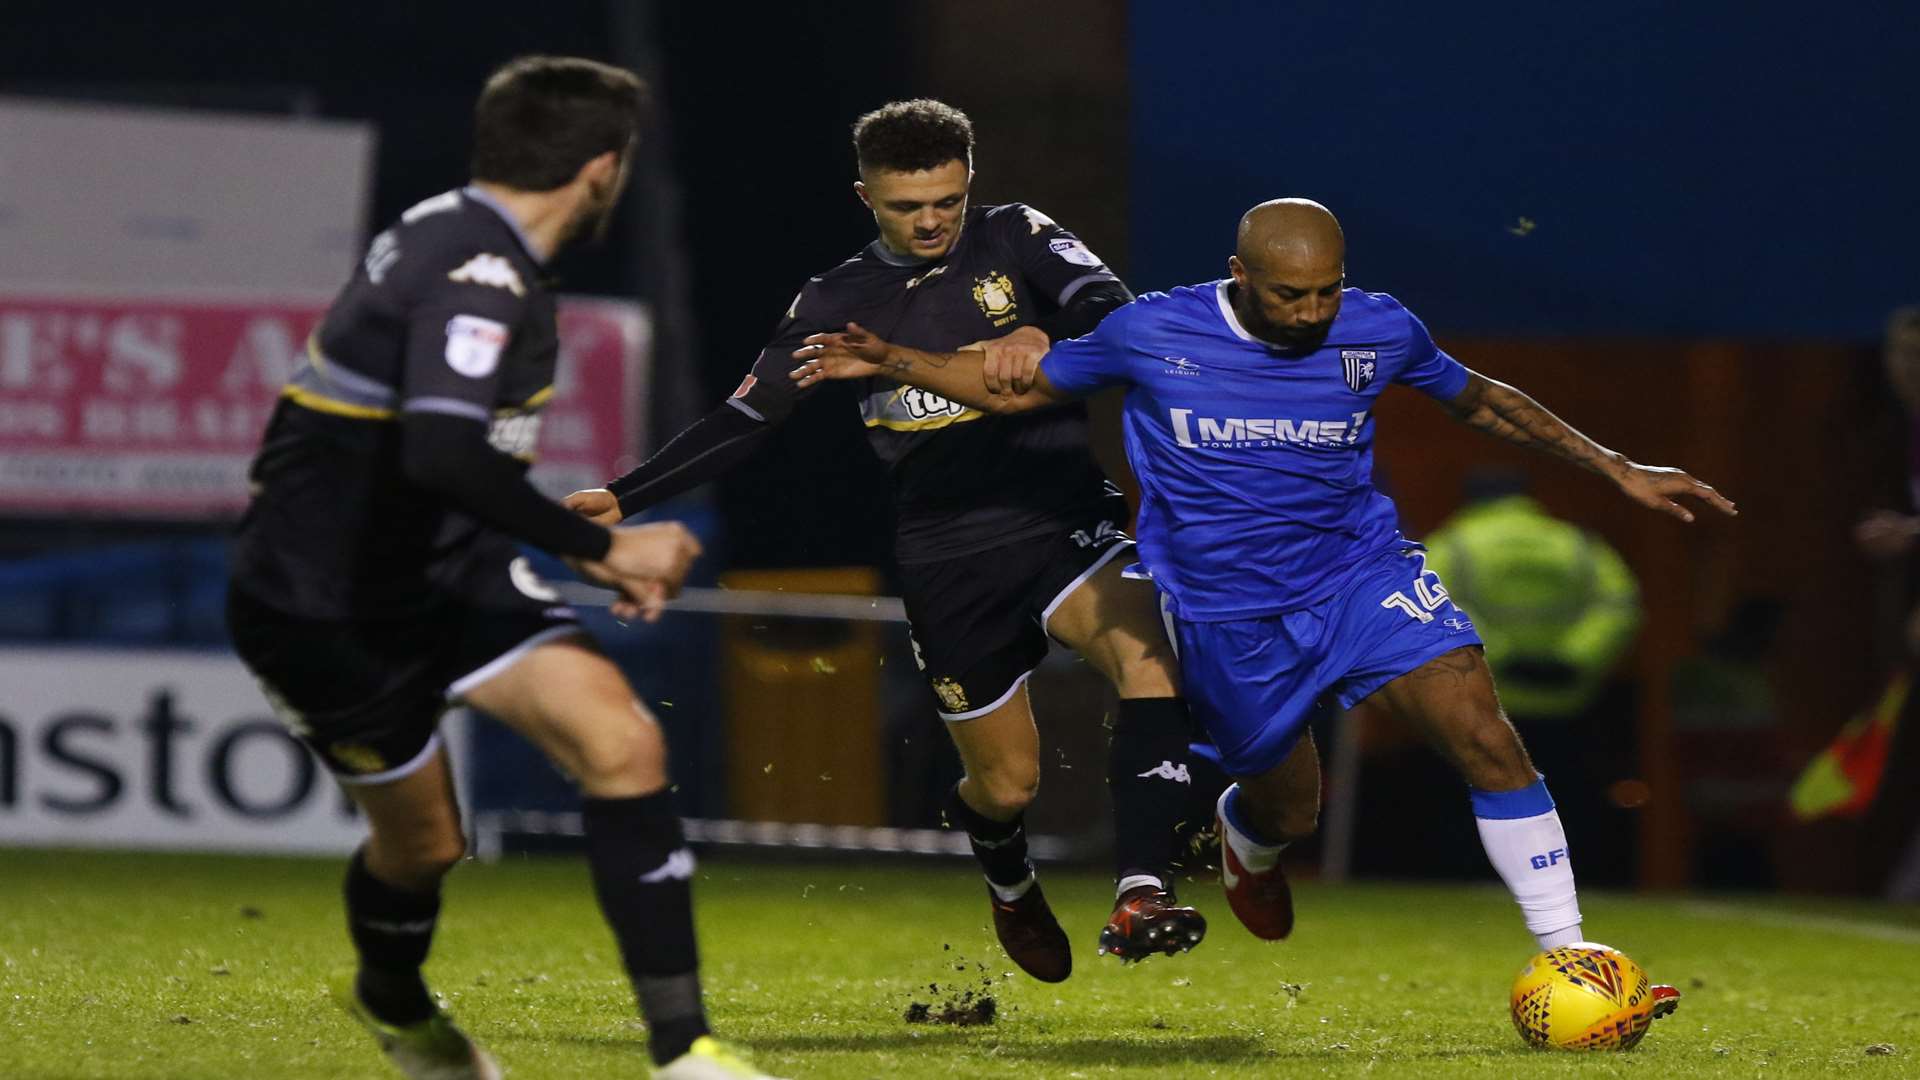
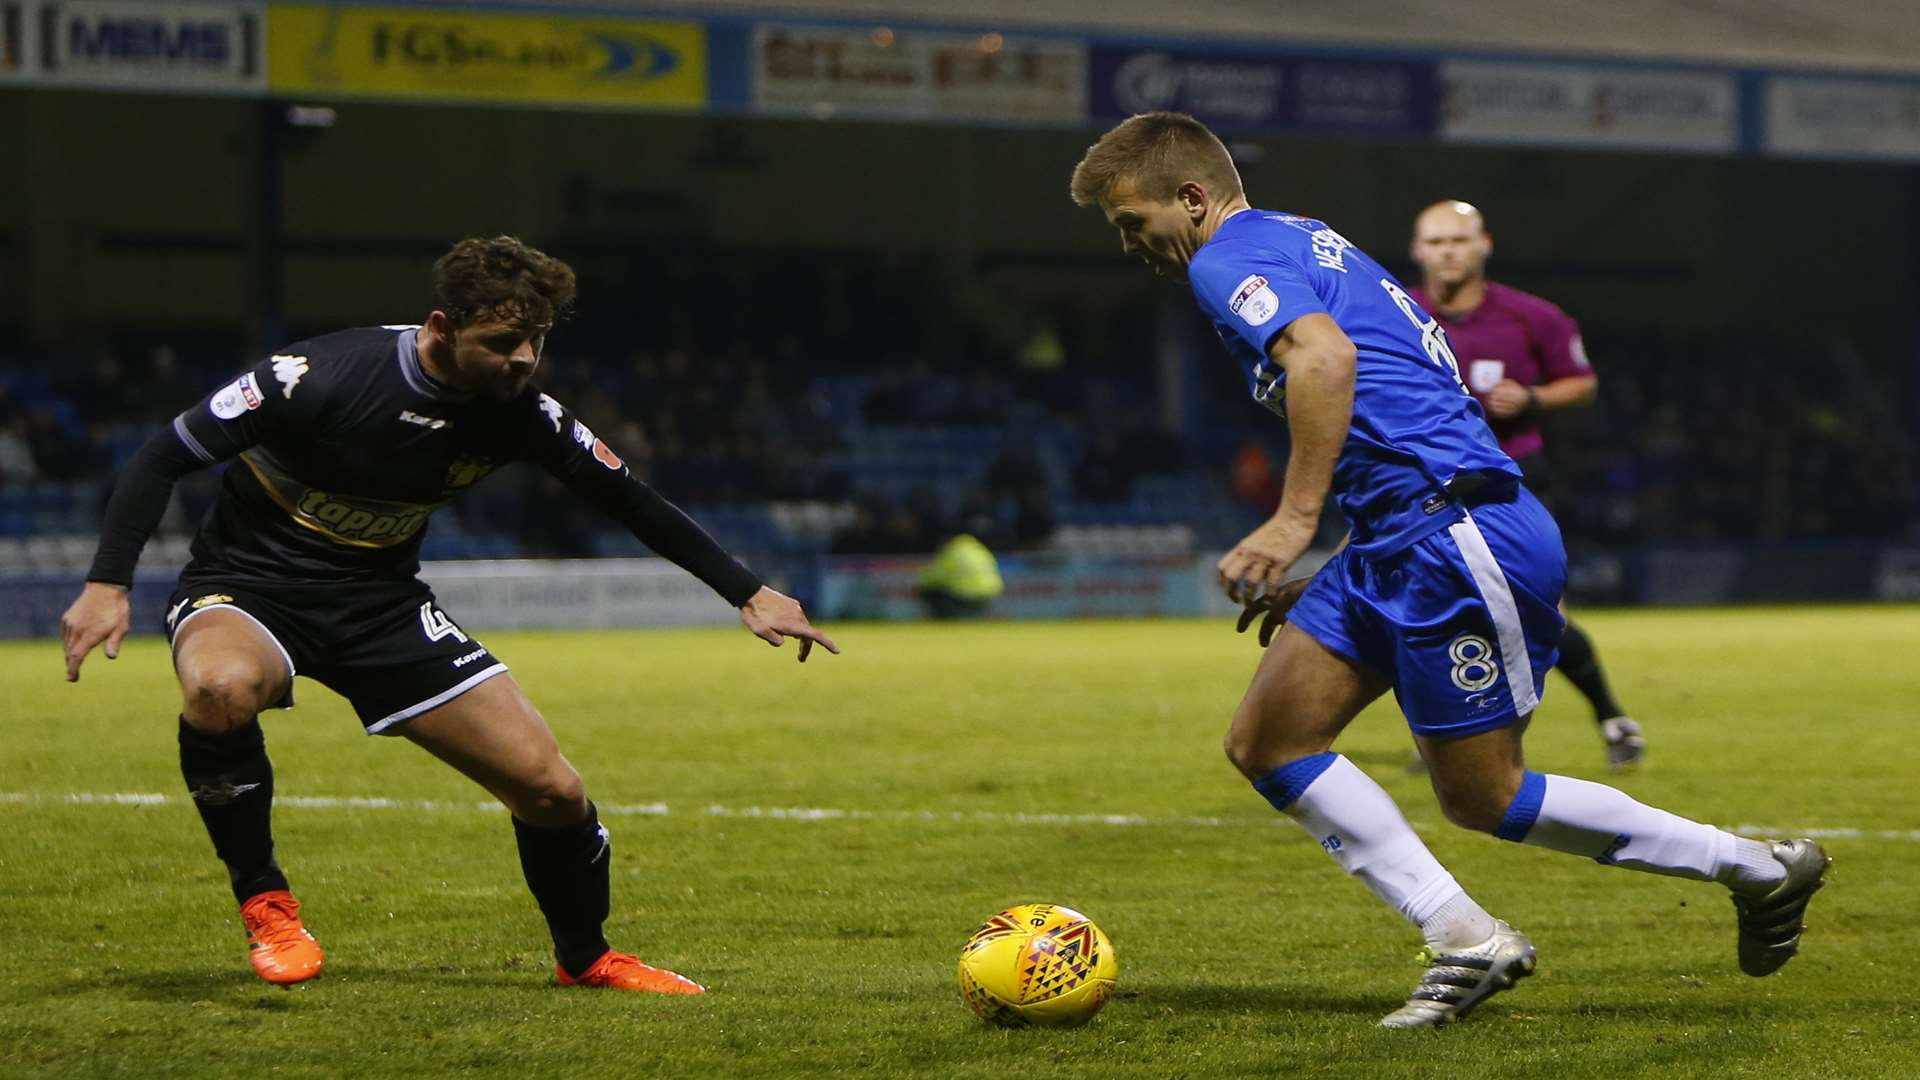
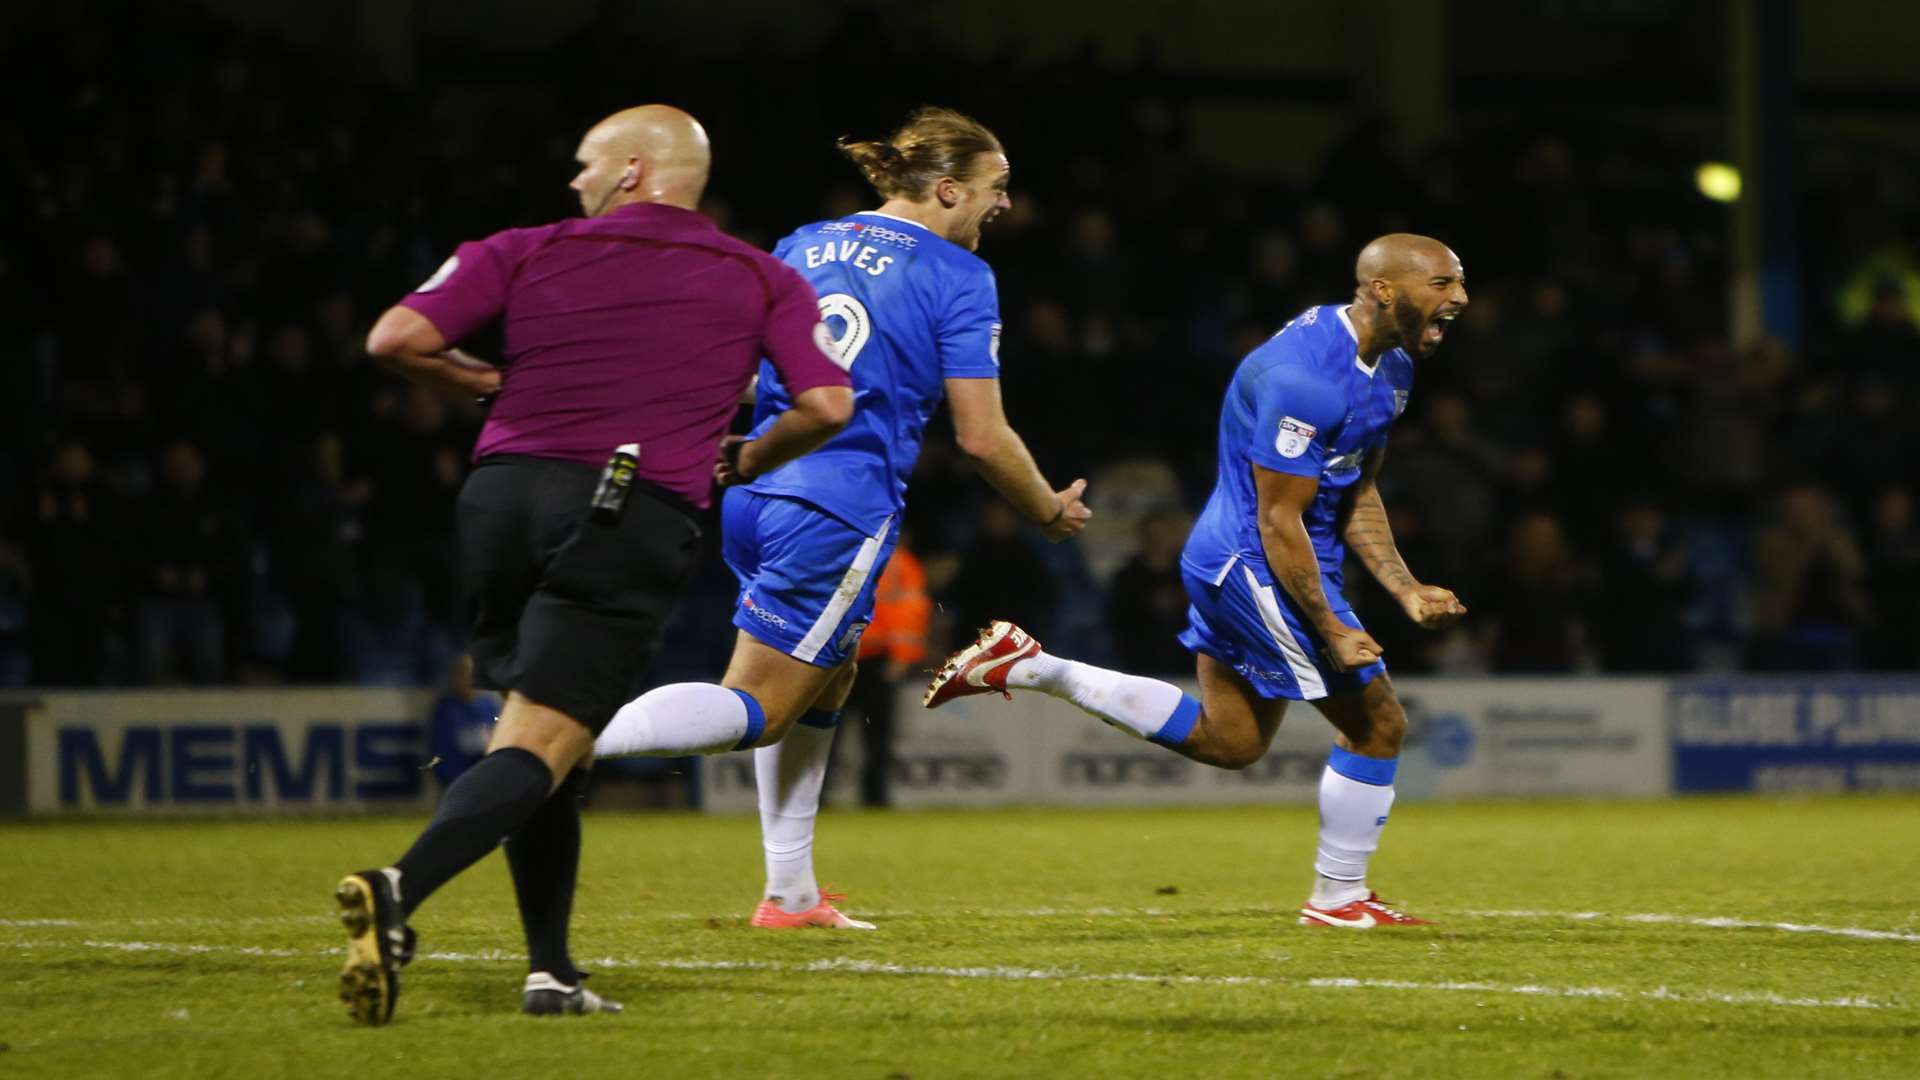
Tomas Holy tries to collect Picture: Andy Jones
Luke O'Neill in possession Picture: Andy Jones
Tom Eaves forced out wide Picture: Andy Jones
Max Ehmer and Bury's Jordan Williams in aerial combat Picture: Andy Jones
Mark Byrne battles in midfield Picture: Andy Jones
Josh Parker surges forward Picture: Andy Jones
Conor Wilkinson in action against Bury. Picture: Andy Jones
Sean Clare takes on his man Picture: Andy Jones
Jake Hessenthaler looks to unlock the Shakers' defence Picture: Andy Jones
Delight for Josh Parker after his equaliser with six minutes left Picture: Andy Jones
Close This site uses cookies. By continuing to browse the site you are agreeing to our use of cookies.Learn More